
Note: In this art section I’ll give a ton of information on the art, and a lot of reflection on 3D art that I have created. I love hearing about processes and seeing people’s work and hearing all the details, it’s a big part of who I am! If that’s not the kind of stuff you are interested in, then I’d recommend going to the Portfolio section, to see the best of what I have to offer! With that said, please enjoy!

To be able to look at your art from any angle brings a fun challenge to creating art, one that I particularly love.
Building art one poly at a time is super fun. It reminds me of the satisfaction of building something in LEGO and seeing every tiny piece come together to make something special. My favorite part of 3D art is making the models themselves, but rigging, skinning, and making the UVs, textures, and animations are fun parts of the process as well.
In this section, I’ll be focusing on a level I created in Unity, where all of the art assets were made by me. That level showcases a lot of what have learned at George Mason University as a Computer Game Design major. Once the in-depth look at the aspects of the art is over, I’ll highlight a few other 3D art assets I have made for other projects.
Note: Some 3D art made specifically for games can be found in the Game Art section.
THIS SECTION WILL BE FILLED IN SOON. ALL 3D ART ASSETS ARE PLACED HERE TO BE LOOKED AT, BUT THEIR EXPLANATIONS WILL COME AT A LATER TIME.
“Art Showcase Level”
In GMU’s GAME 398 Advanced Game Design Studio with Professor Grimsby, for the final project I was tasked with making a character and environment from scratch. I was given an asset package for Unity, which contained all the code I needed. The main tasks were to make an interior or exterior environment model, at least three original Visual Effects using Unity’s particle systems, add lighting, props, and then make an original character and a prop for them to hold, with an idle, run, attack, interact, and death animation (all at 30fps). There were some limits on the amount of tris, the size of texture files, and size of models, but I was basically free to make what I wanted to. After I had finished the project and the semester ended, I spent many hours over the break editing the level, making sure that each asset was 100% created by me from scratch. It was a fun challenge to turn my cartoony art style from 2D to 3D, and I love how it turned out!

The School

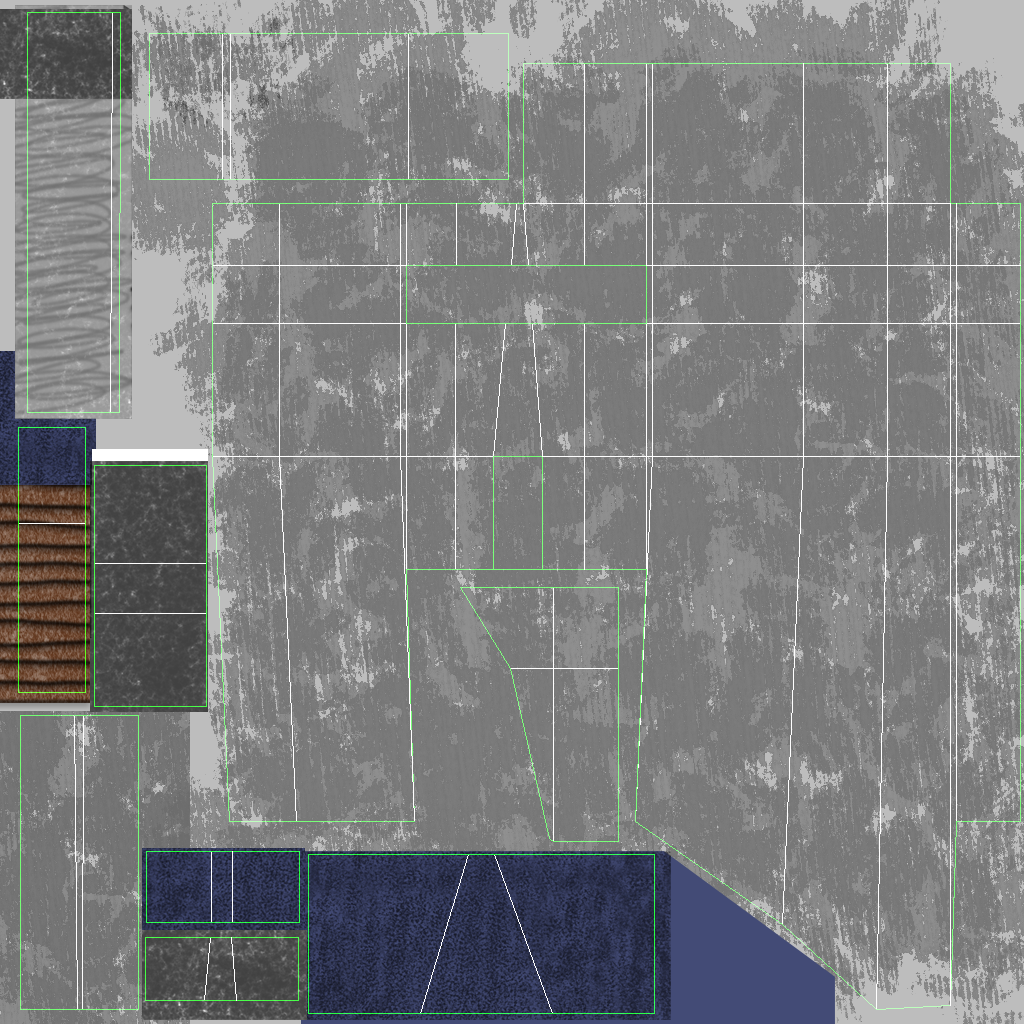
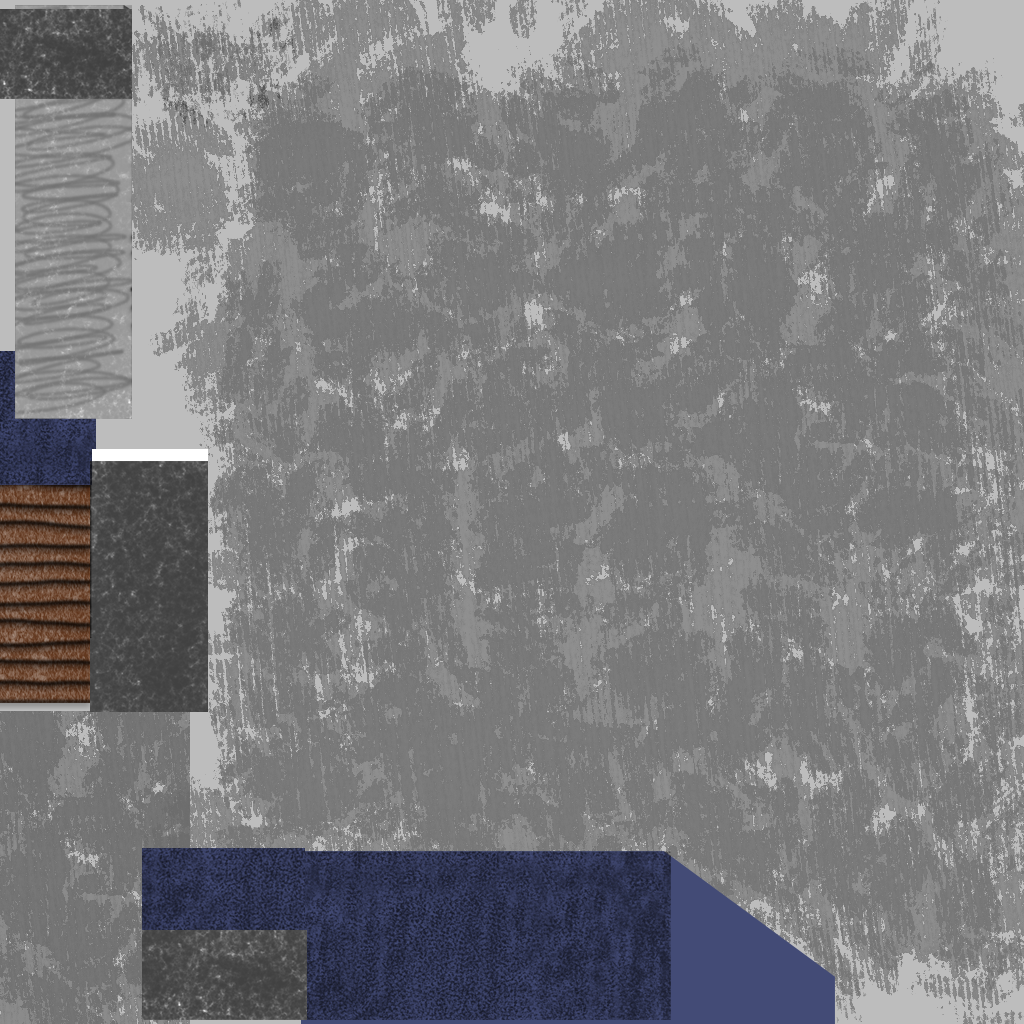
For the main exterior and interior of the level, I decided to make an abandoned school that the character is attempting to repair. To do this, I made a tile set for the interior and exterior, so I could snap the pieces together while still allowing for variety. Here, I’ll dive into what went into making the exterior.
Click below to view the school model! Please note that there is no window glass, as that was added in within the Unity engine, using reflective planes. So while viewing the model, you will be able to see the backface culling of areas that are unreachable and not visible to the player.
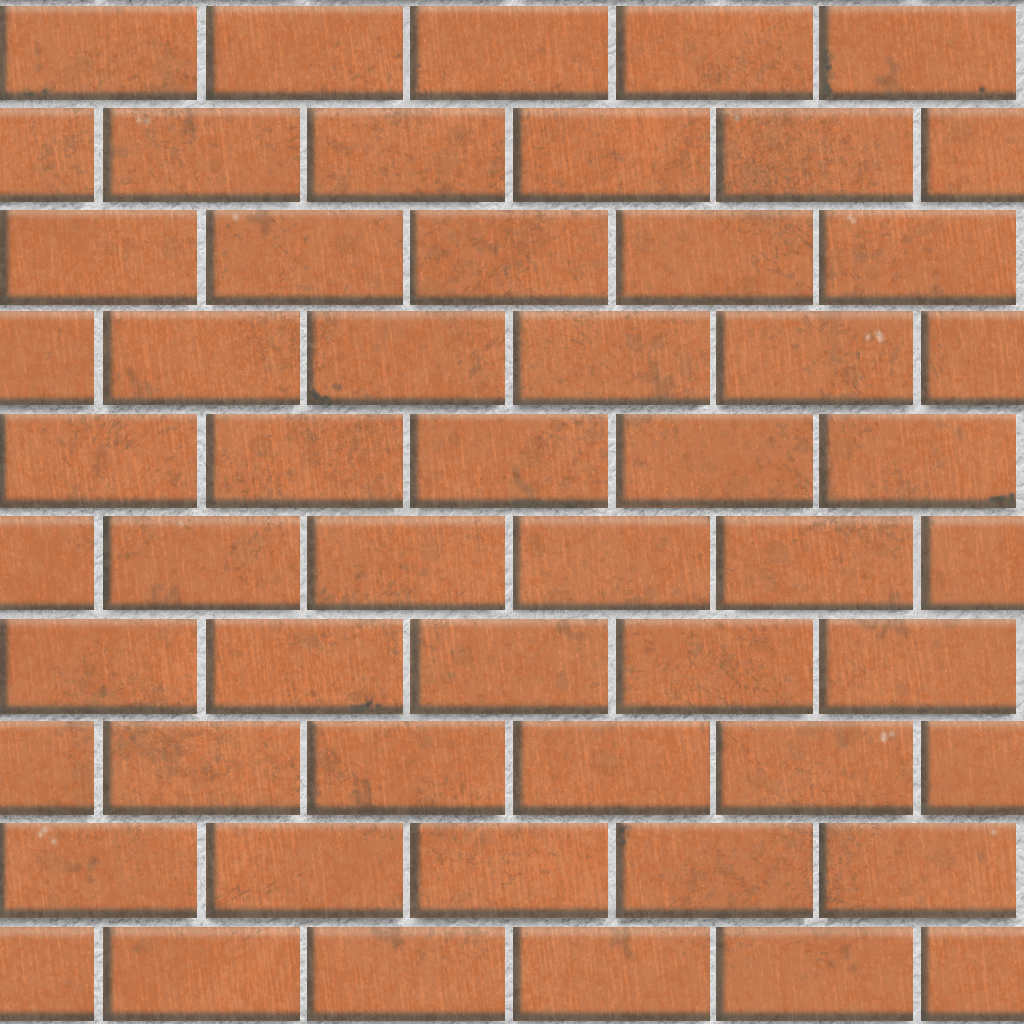
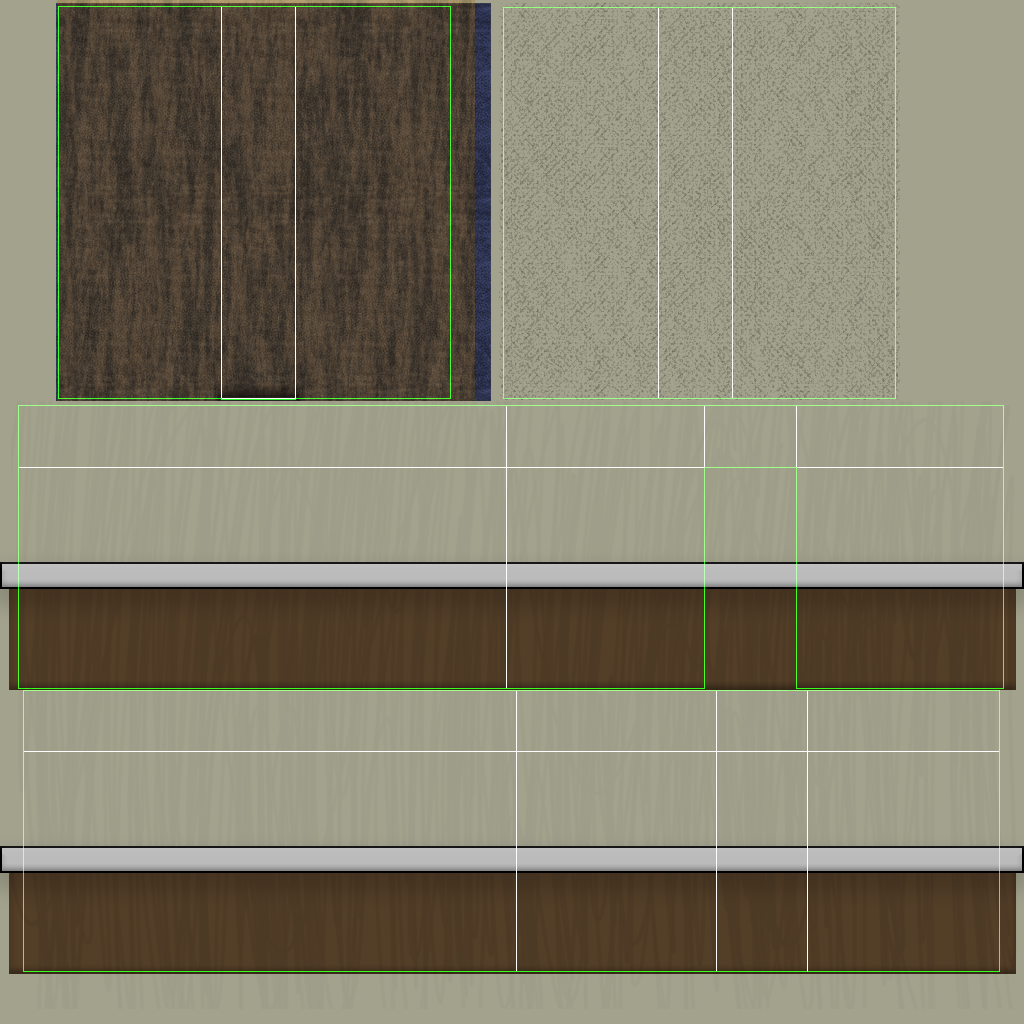
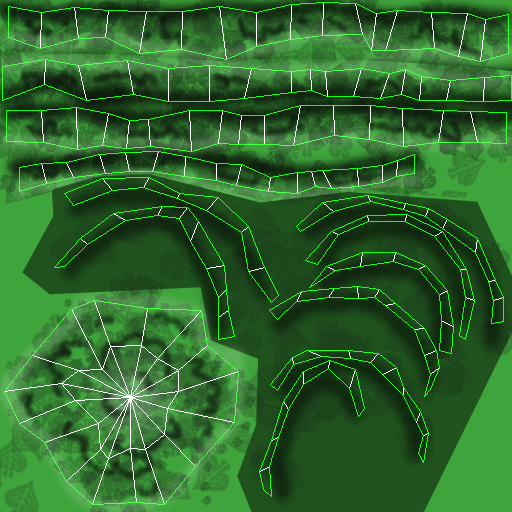
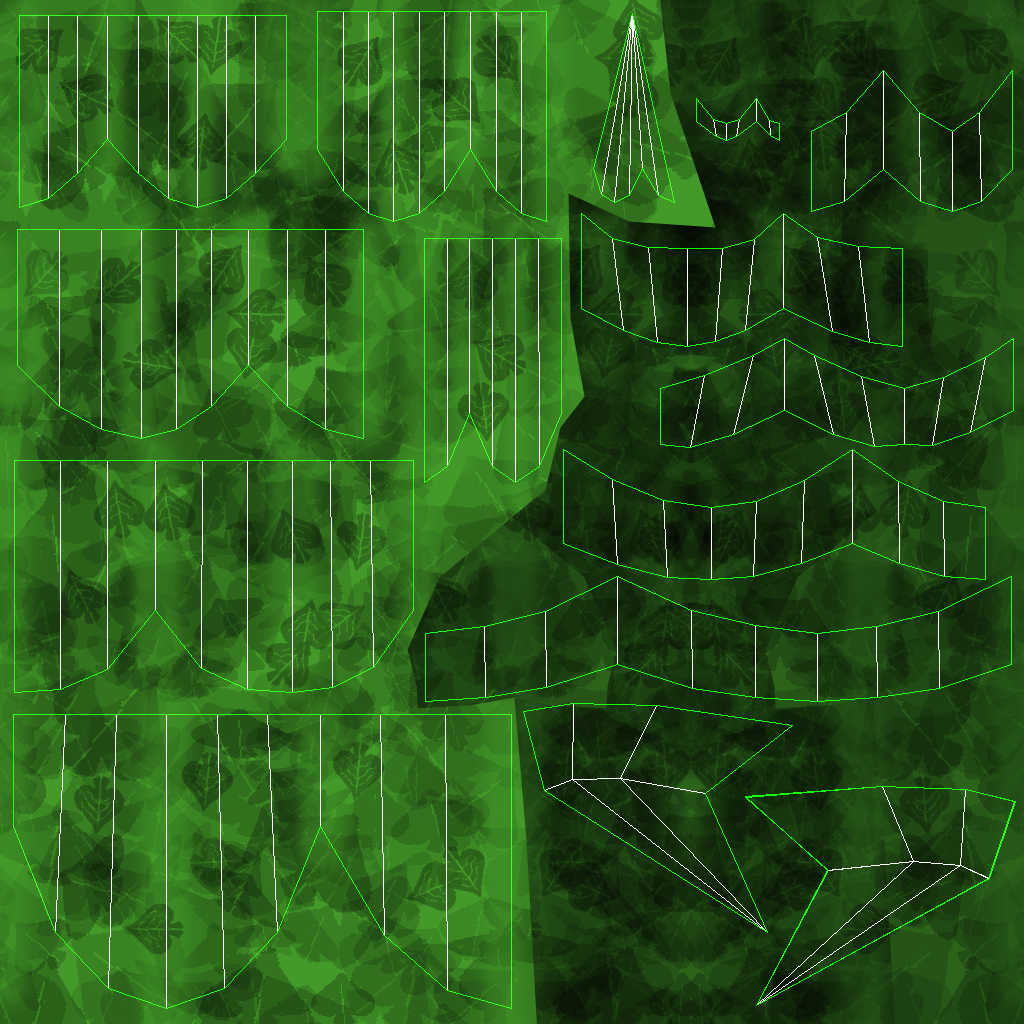
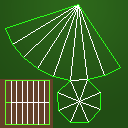
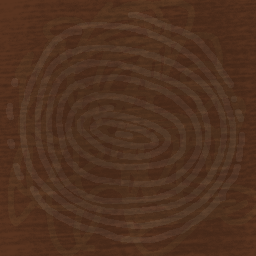
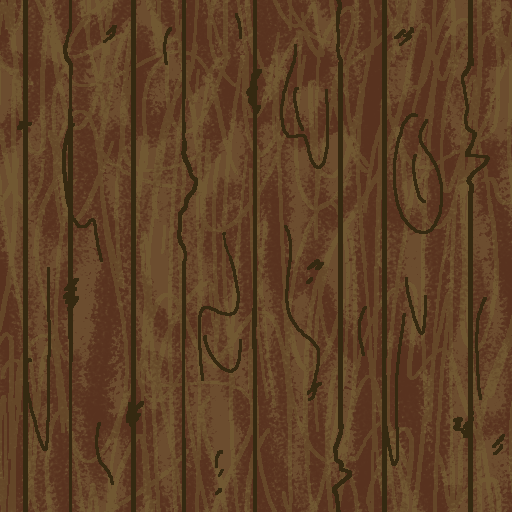
“Brown Bricks Texture, Tiling”
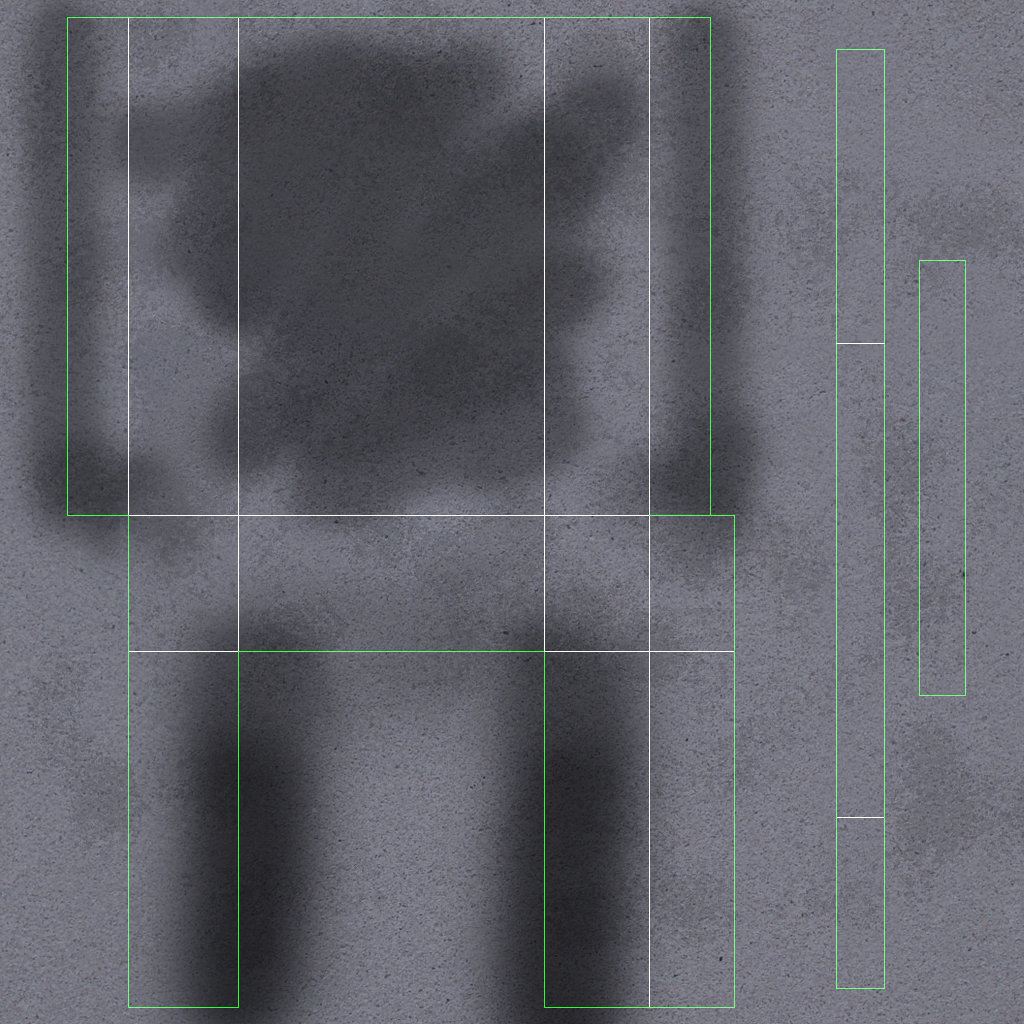
“Back Entrance, UVs”
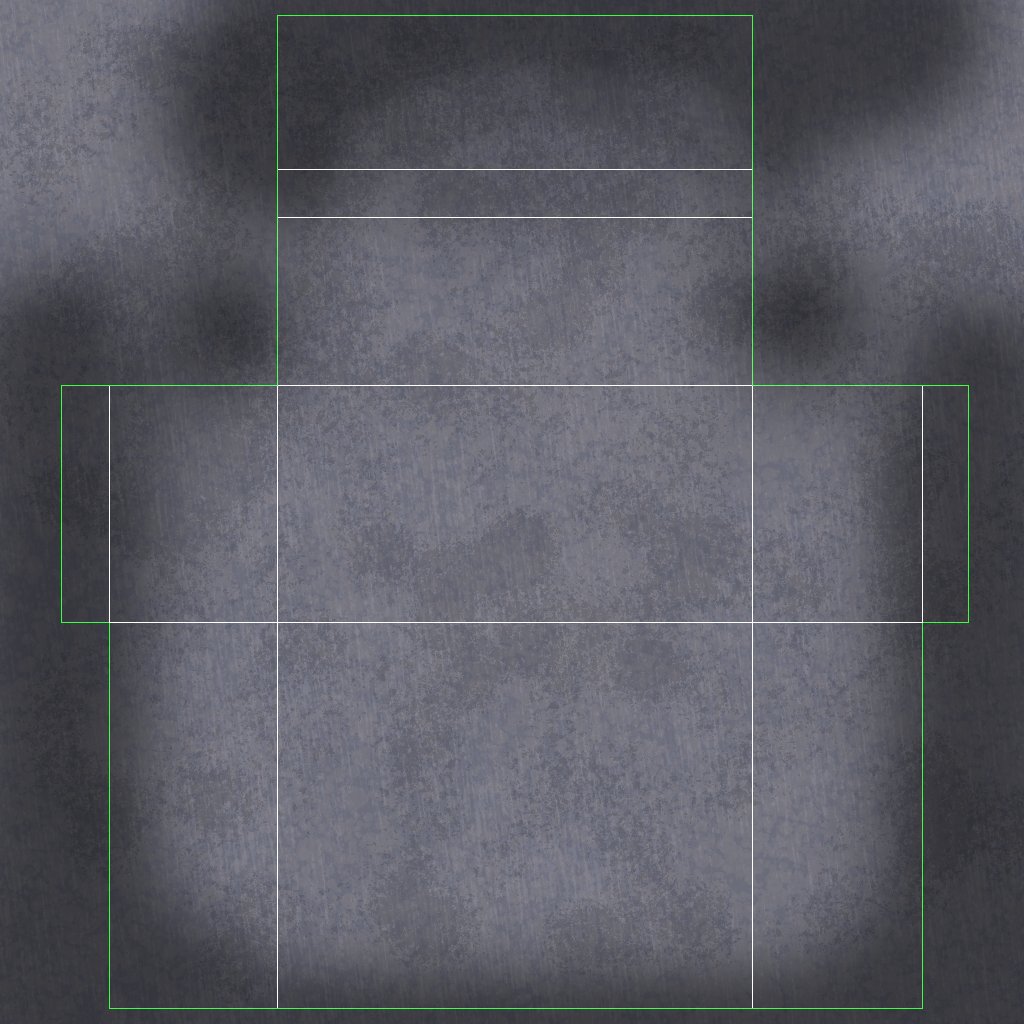
“Shed, UVs”
“Gutters, UVs”

“Back Entrance Texture”

“Shed Texture”
“Gutters Texture”
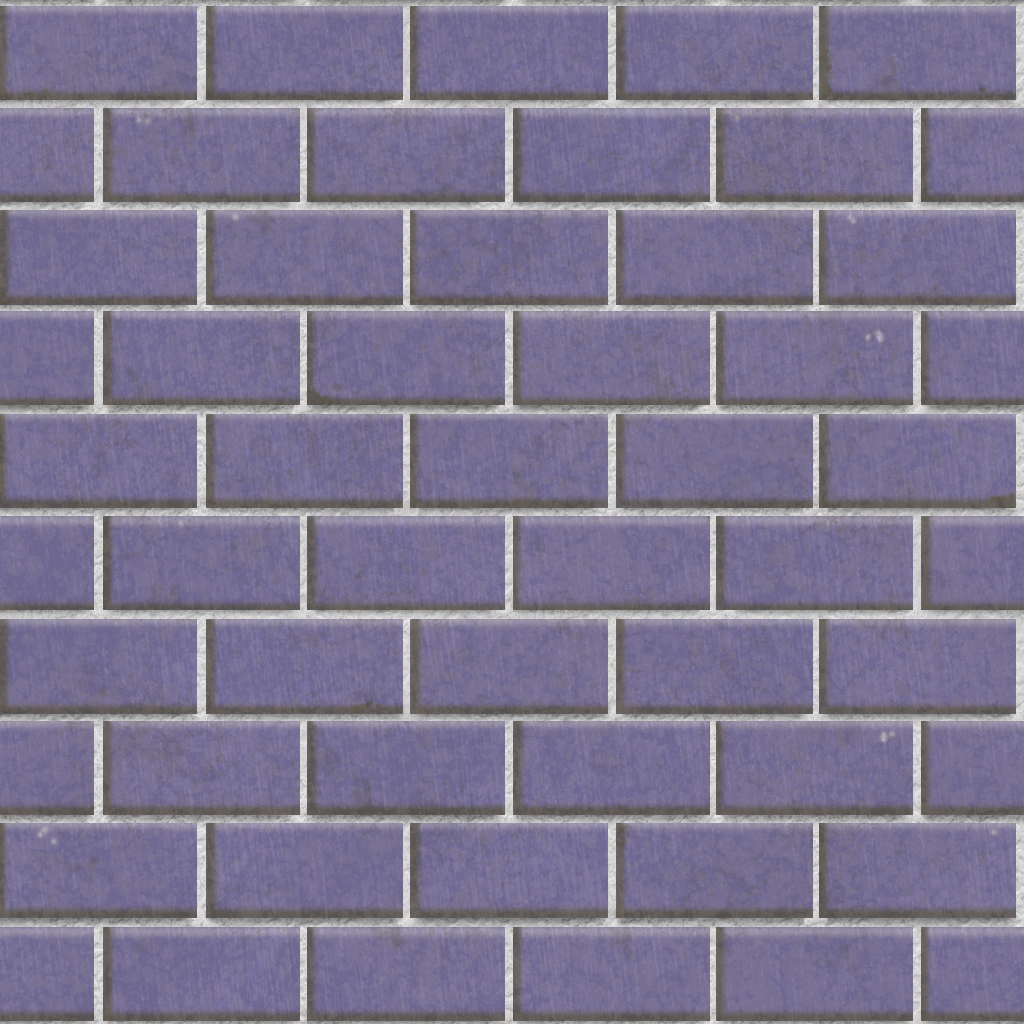
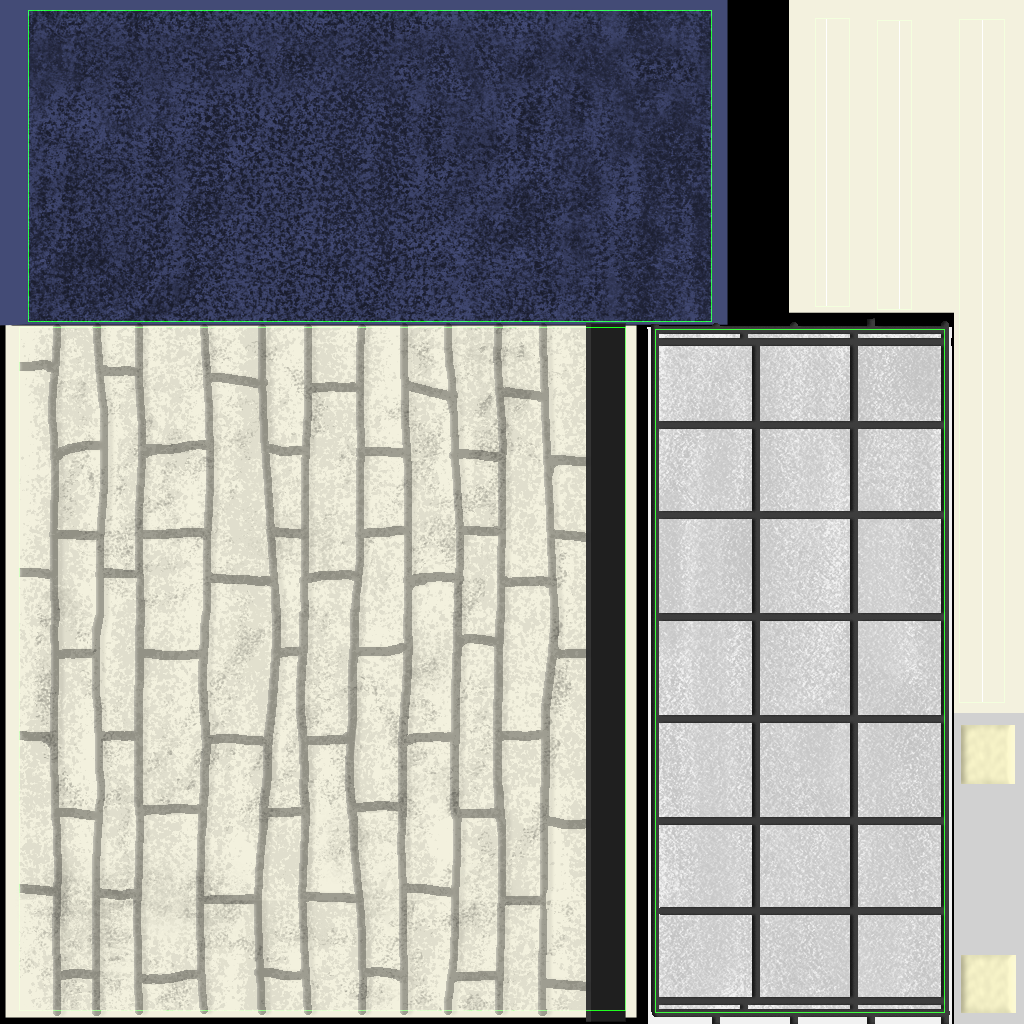
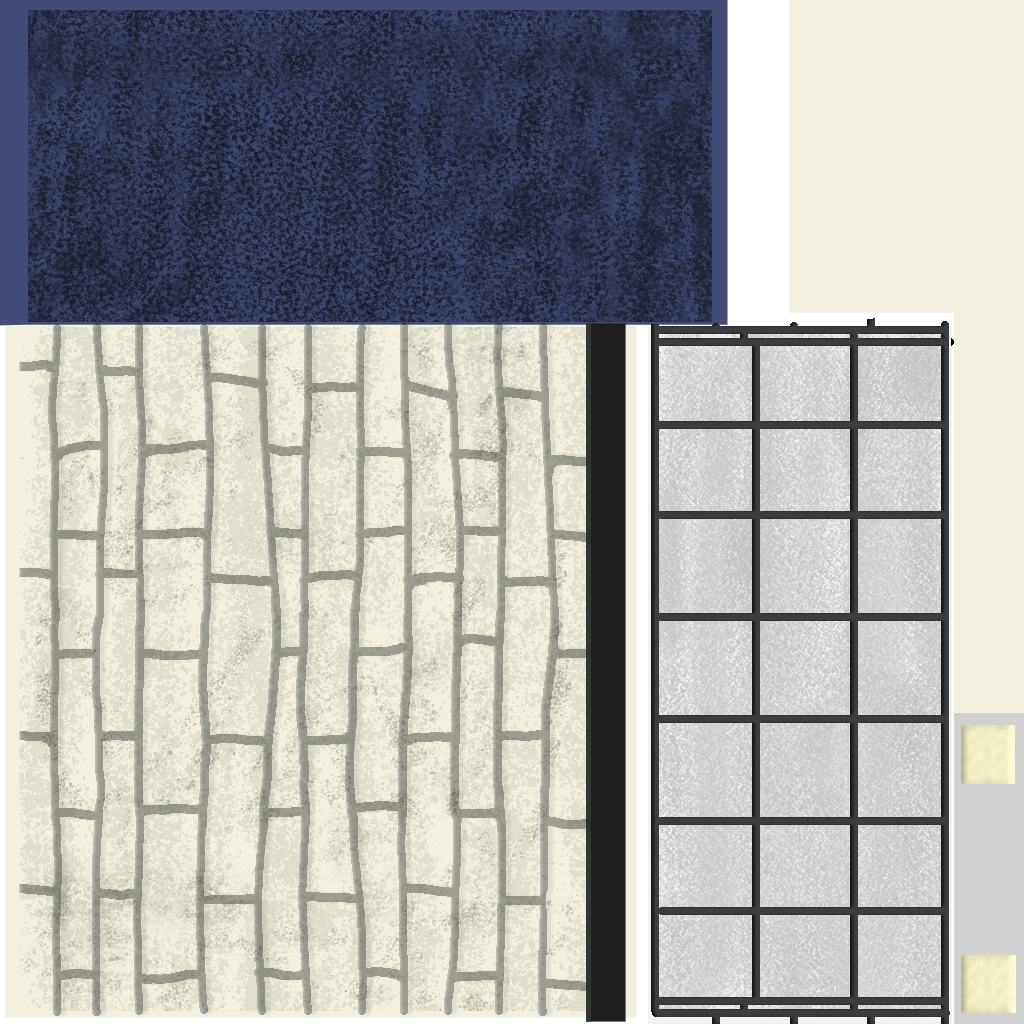
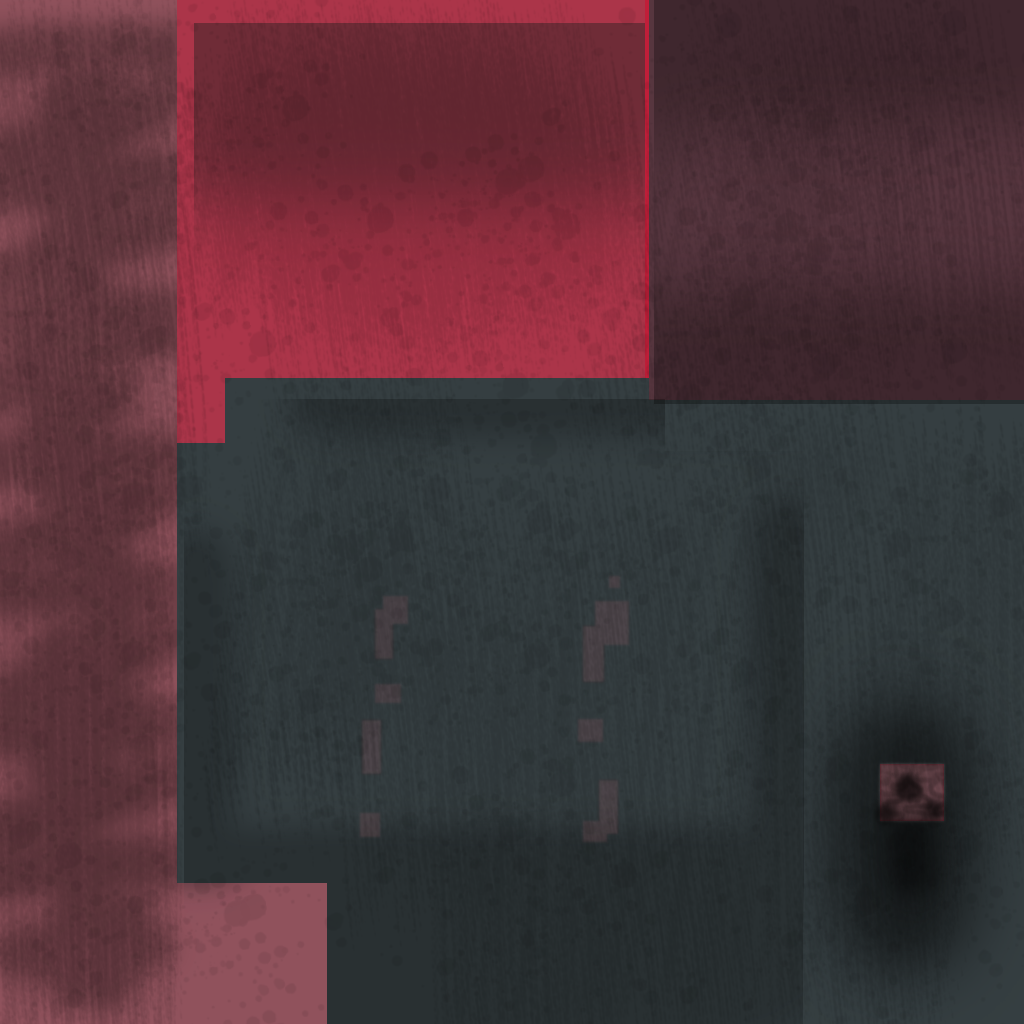
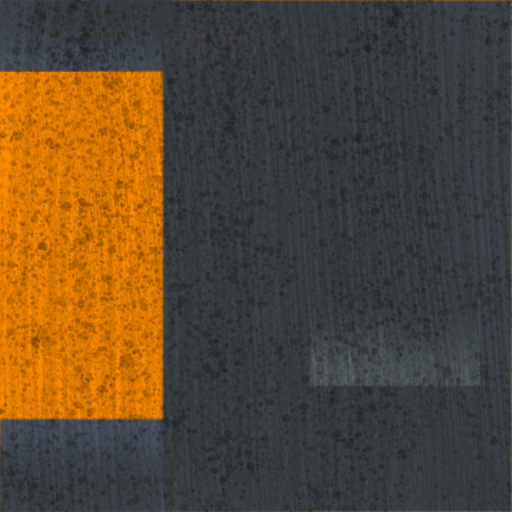
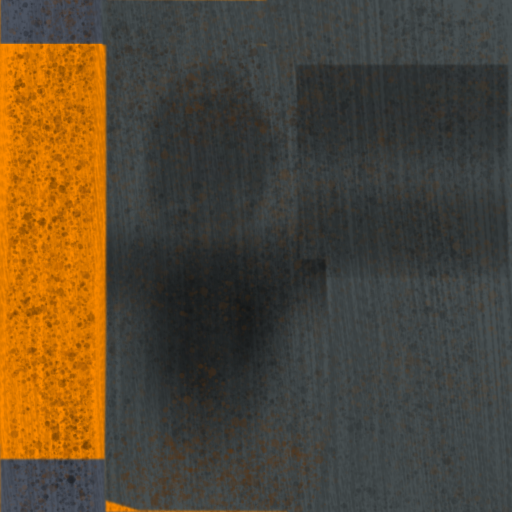
“Blue Bricks Texture, Tiling”
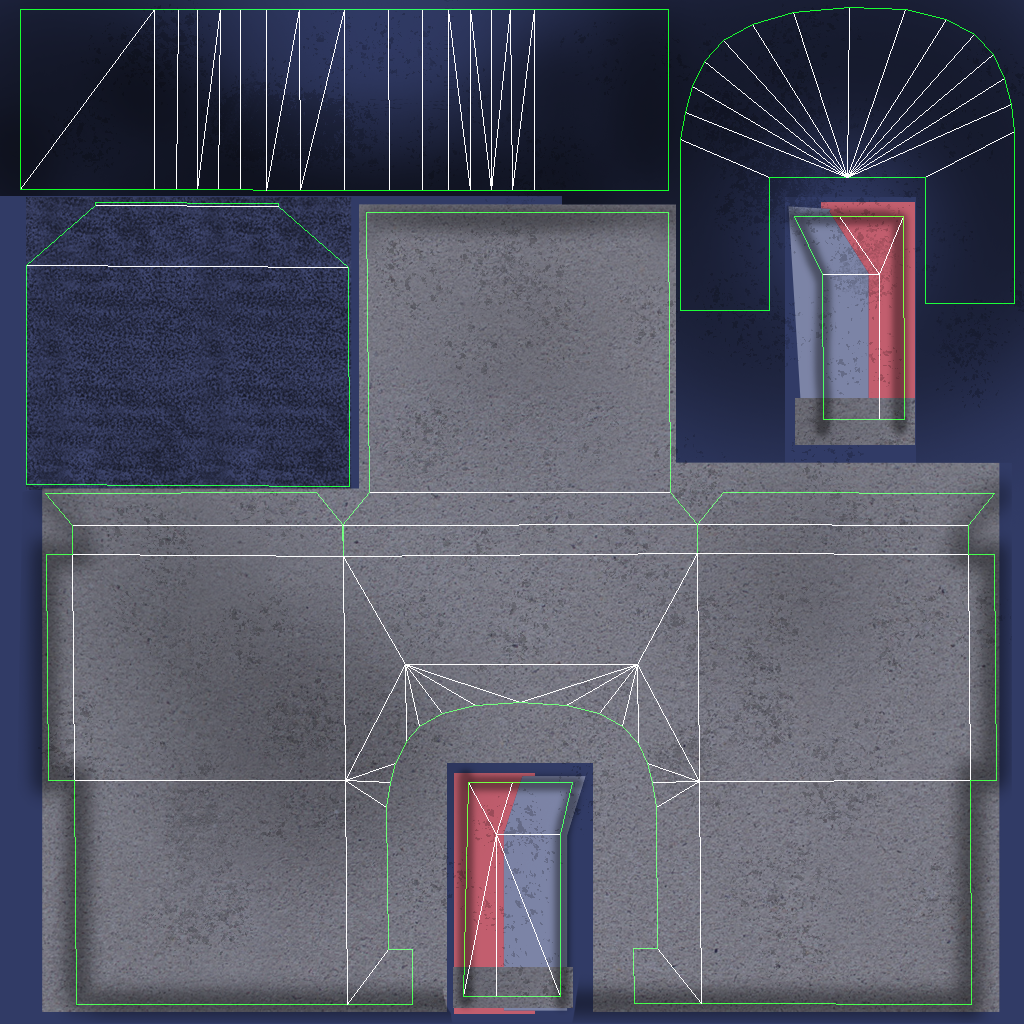
“Front Entrance, UVs”

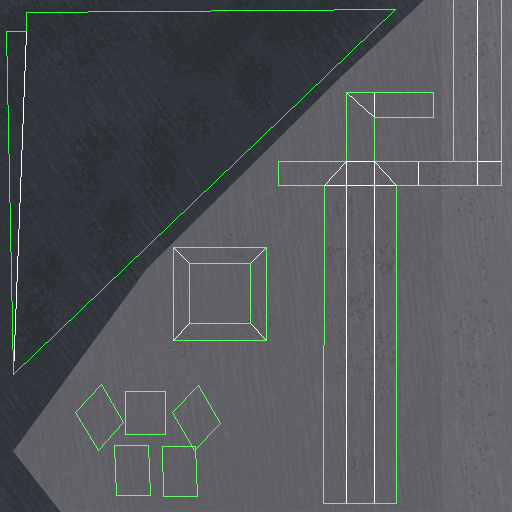
“Windows, UVs”
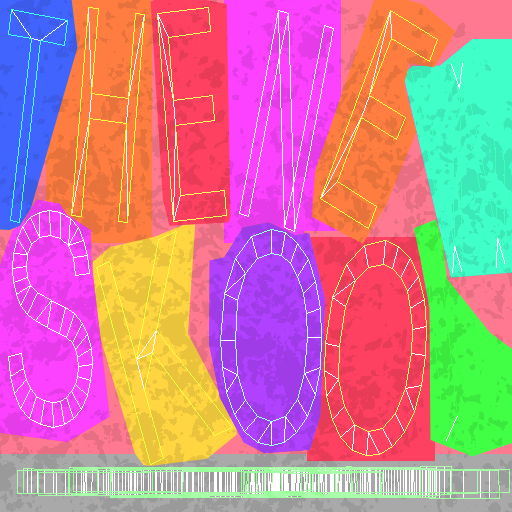
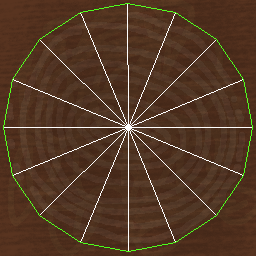
“Logo, UVs”

“Front Entrance Texture”
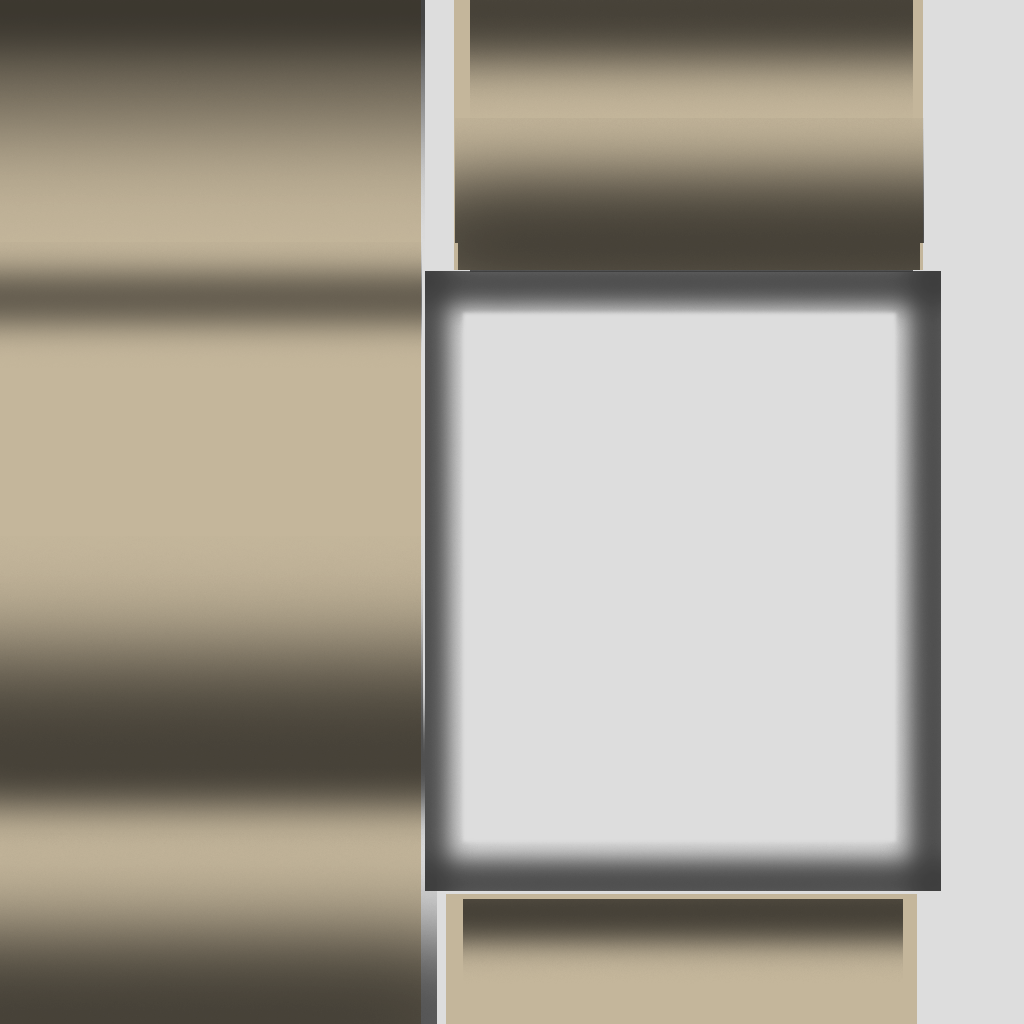
“Windows Texture”
“Logo Texture”
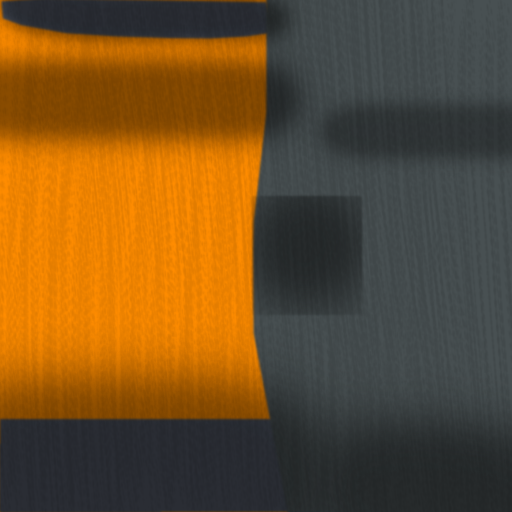
To make the walls and roof of the building, I made tiling brick textures that would perfectly loop around the tile segments of the exterior (“Brown/Blue Bricks Texture, Tiling”).
“Hallway, UVs”

“Broken Stairs, Uvs”

“Main Stairs, Uvs”
“Basic Room, UVs”
“Stairwell Walls, UVs”

“Yellow Door, UVs”
“Hallway Texture”
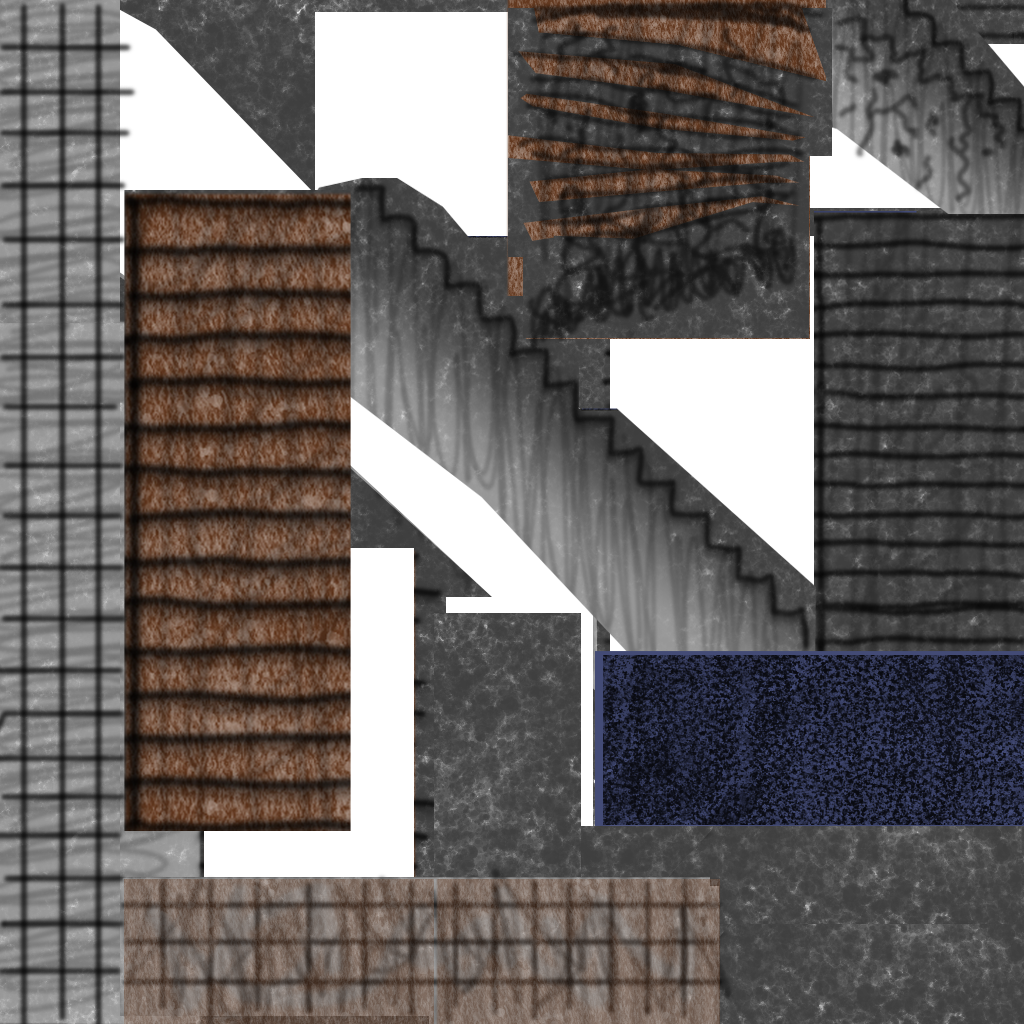
“Broken Stairs Texture”

“Main Stairs Texture”

“Basic Room Texture”
“Stairwell Walls Texture"
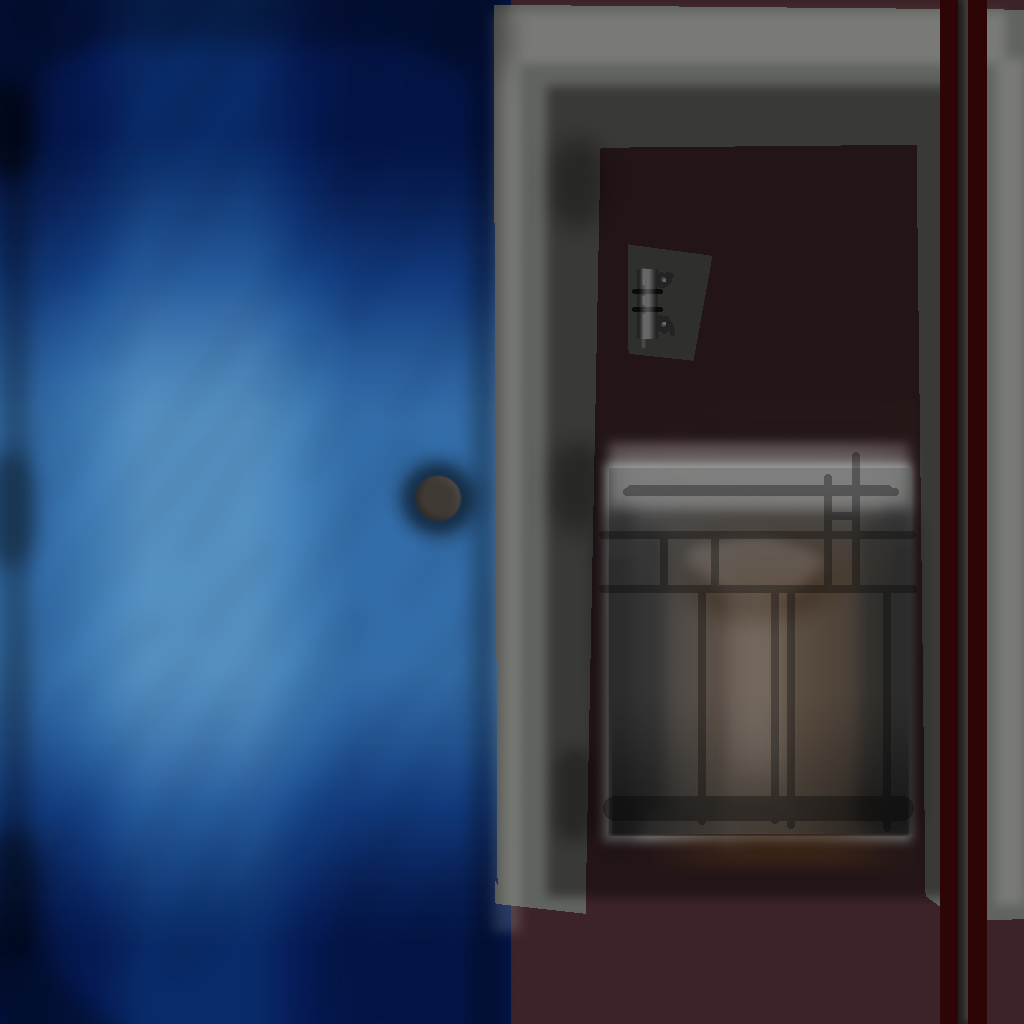
“Blue Door Texture”
text
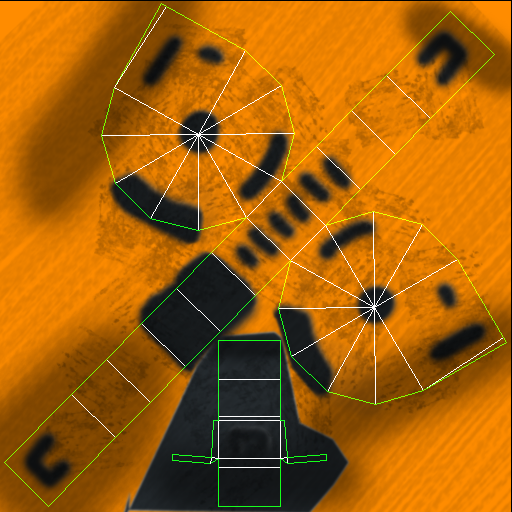
The Props

“Weapon UVs”

“Slime Barrel, UVs”

“Brush, UVs”

“Hammer, UVs”

“Screwdriver, UVs”
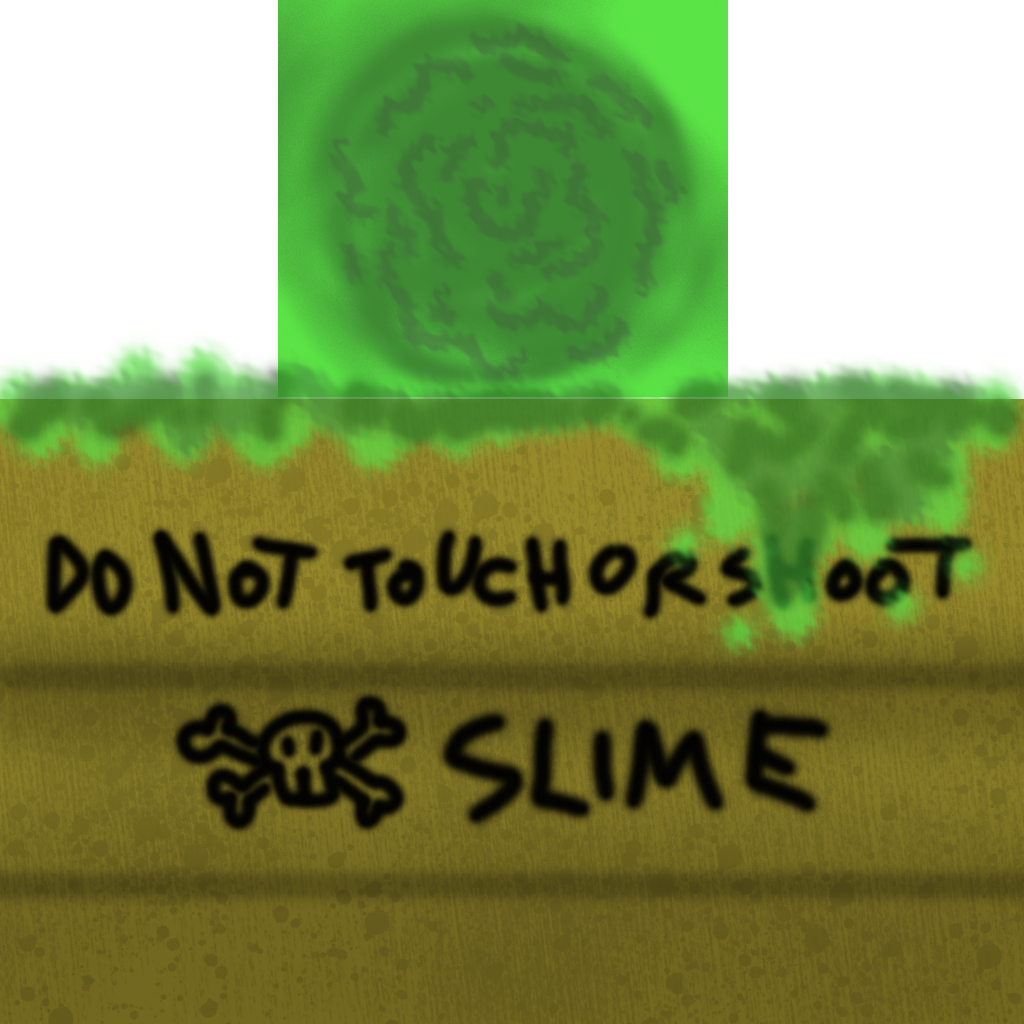
“Slime Barrel Texture”
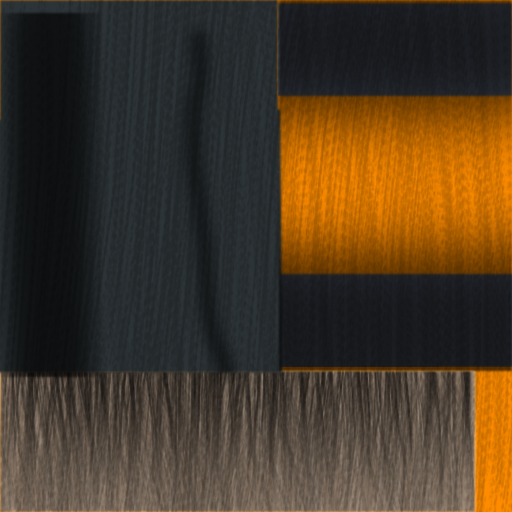
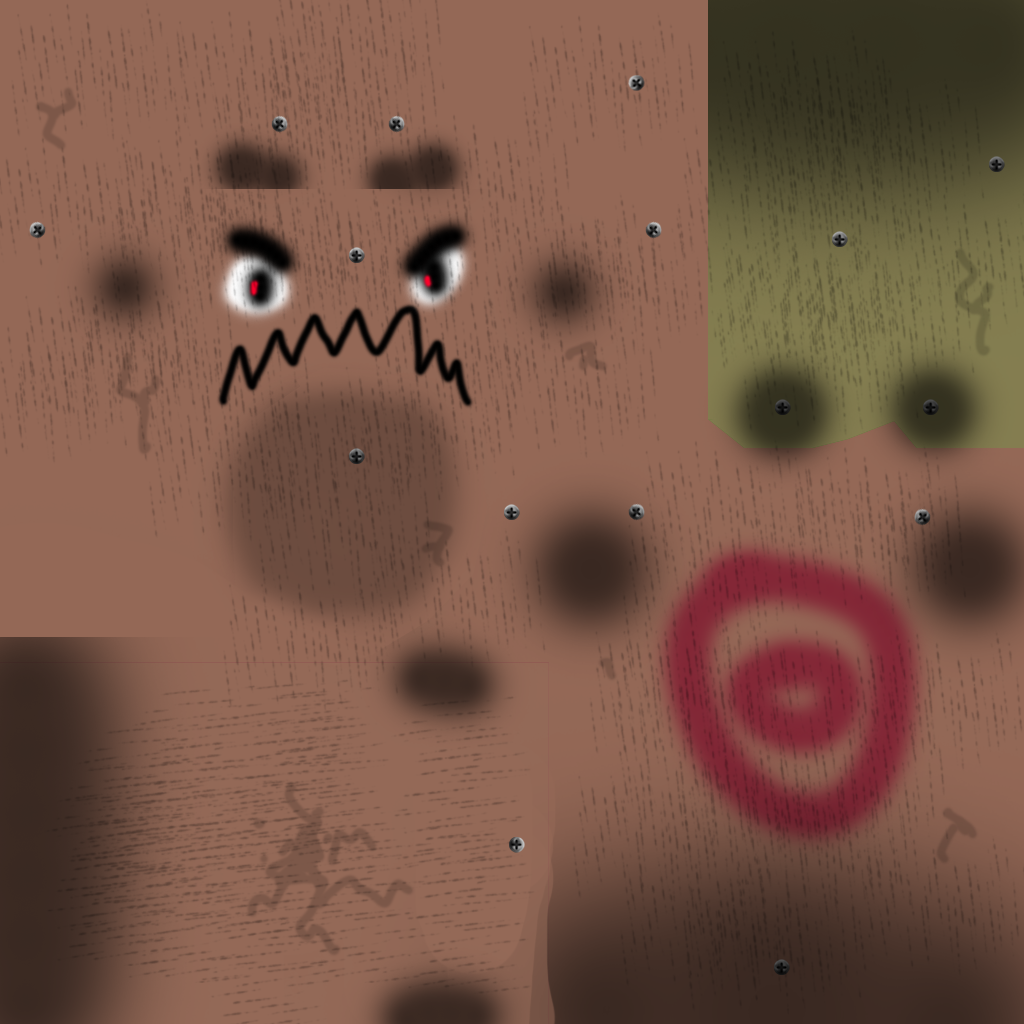
“Brush Texture”
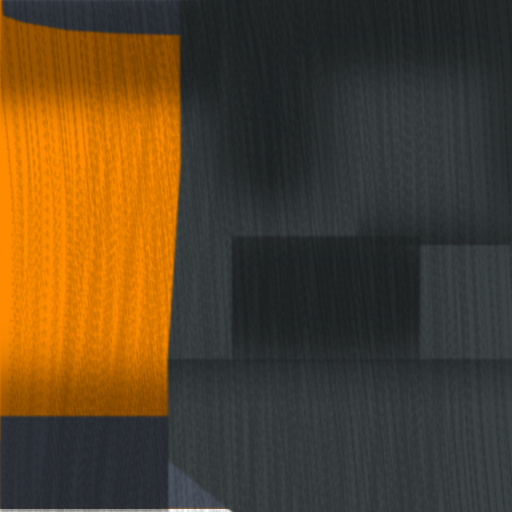
“Hammer Texture”
“Screwdriver, Texture”

“Shovel, UVs”

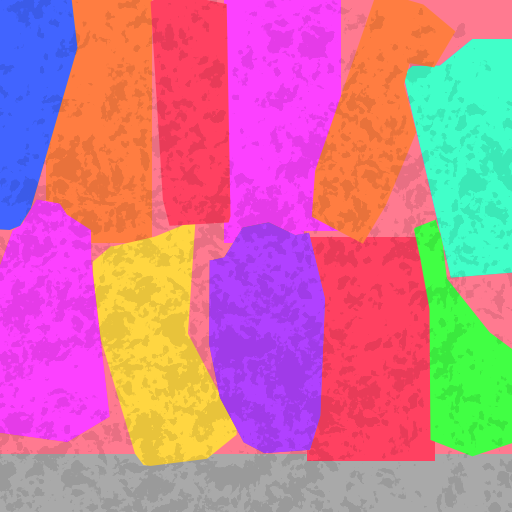
“Dummy, UVs”
“Bush UVs”
“Tree Top, UVs”
“Tree Stump UVs”
“Background Tree UVs”
“Tree Stump Texture”

“Background Tree Texture”

“Weapon Texture”

“Lever, UVs”

“Crowbar, UVs”
“Measuring Tape, UVs”

“Shovel, UVs”
“Lever Texture”
“Crowbar Texture”

“Measuring Tape Texture”
“Shovel Texture”

“Shovel Texture”
“Dummy Texture”

The Environment

“Skybox Texture”
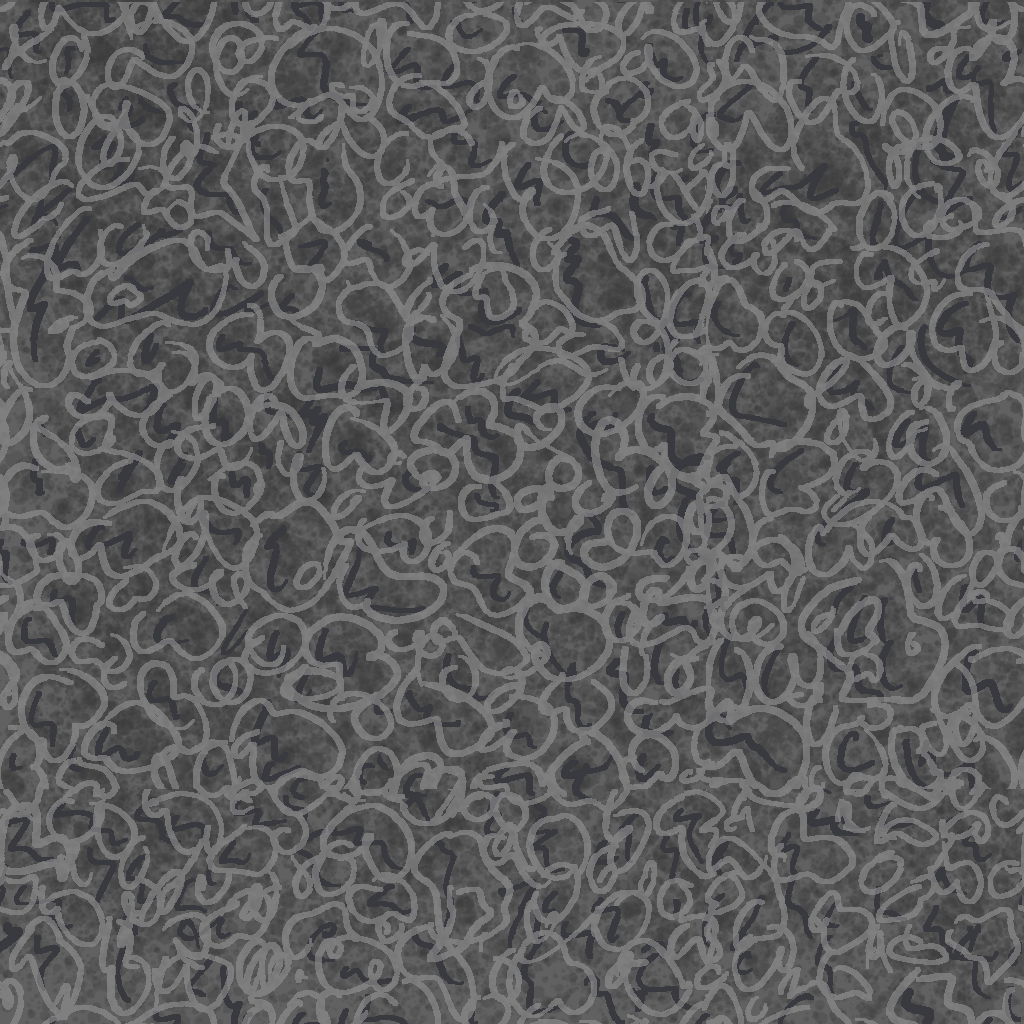
“Blacktop Floor Texture”
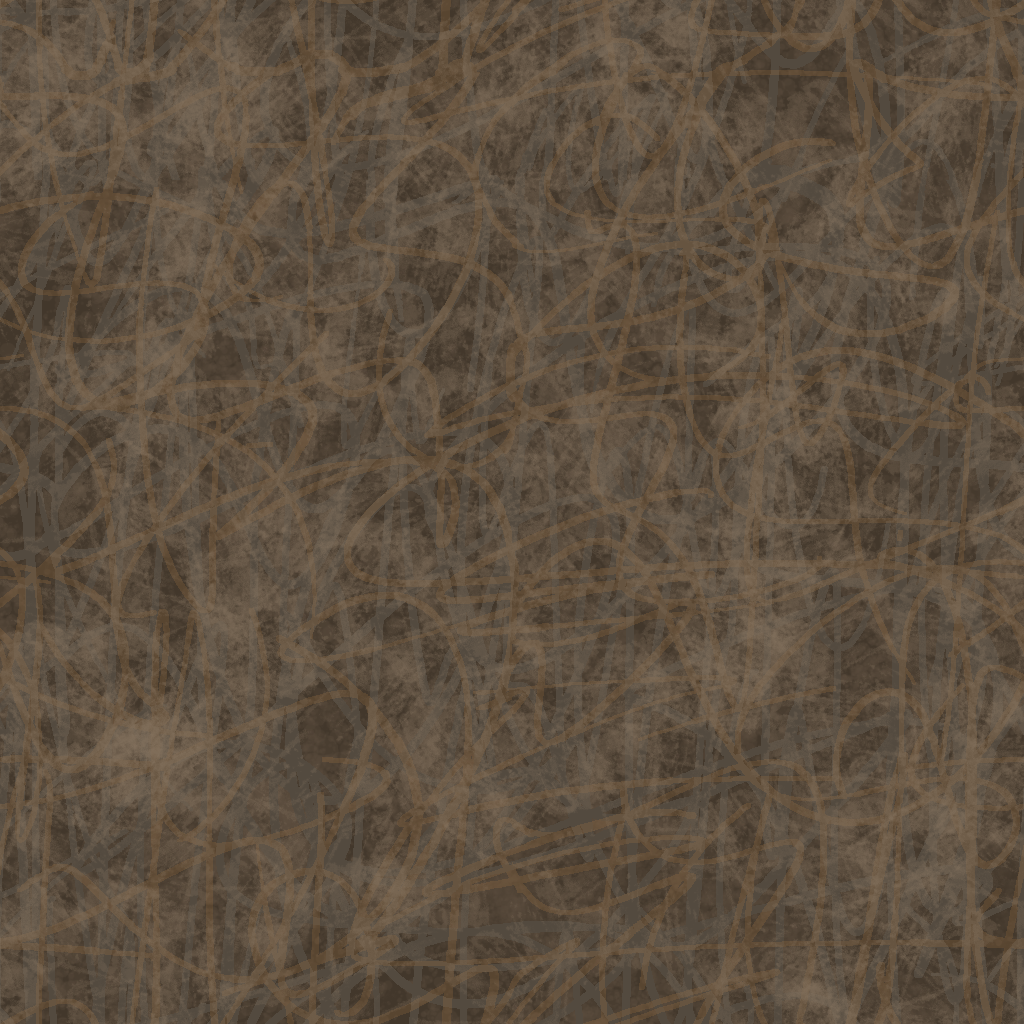
“Mud Floor Texture”
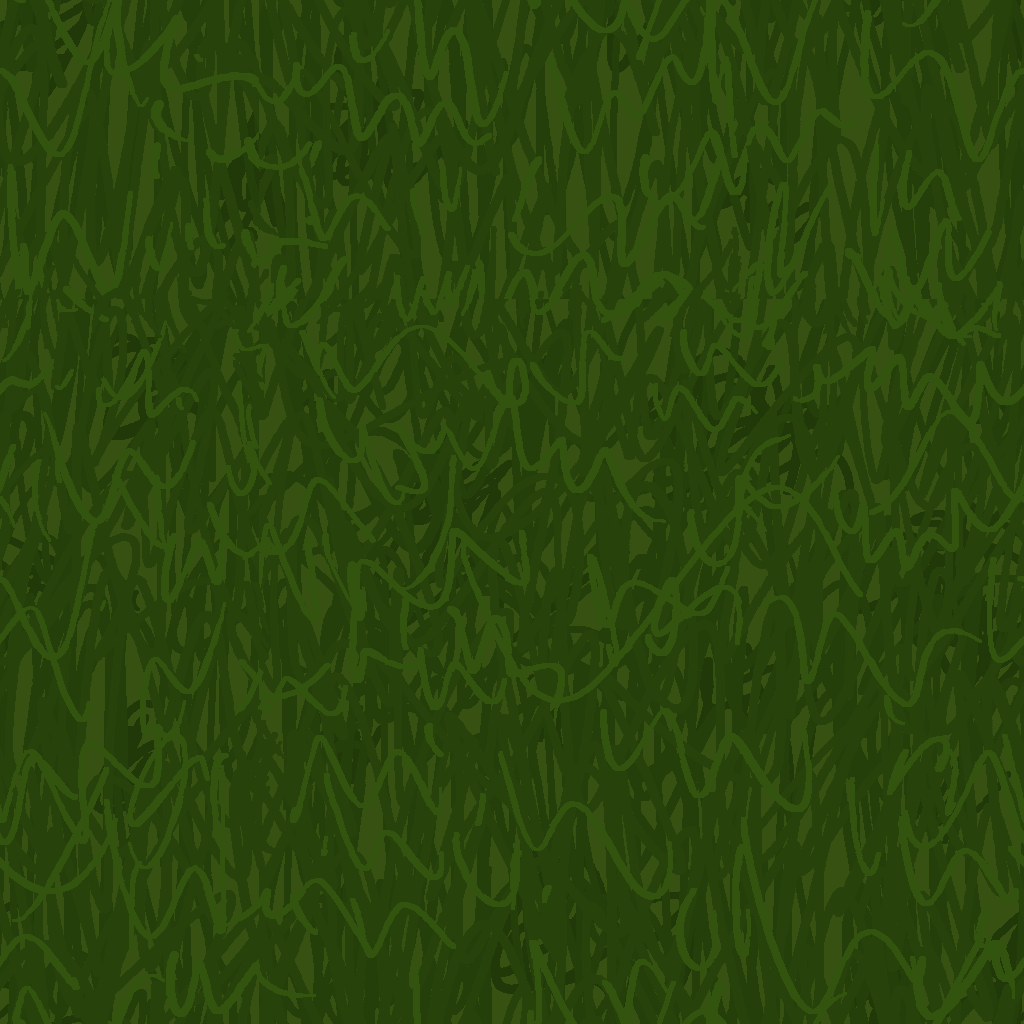
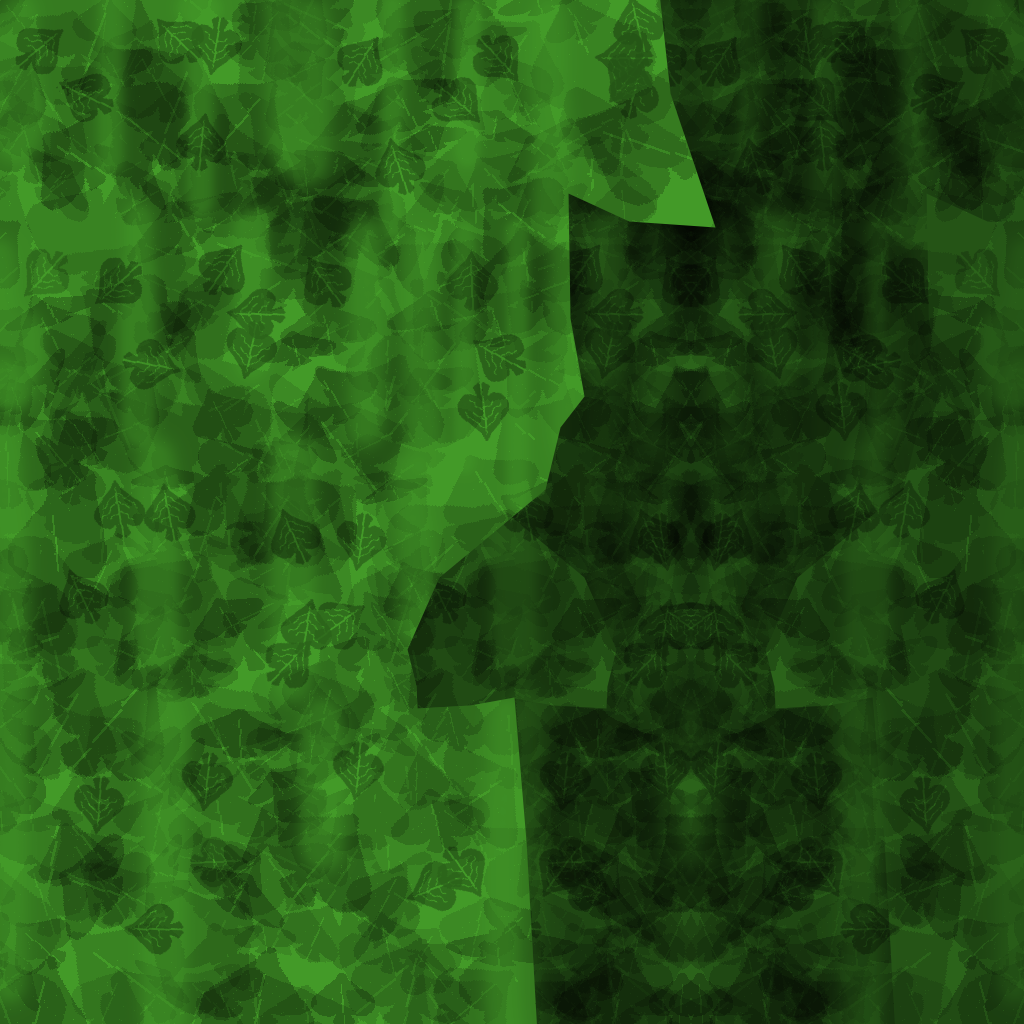
“Grass Floor Texture”

“Cliff Mountain Floor Texture”

“Crack 2”

“Crack 1”
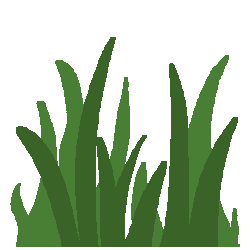
“Grass 1”

“Grass 2”

“Grass 3”
The VFX

“Hair Particle VFX”
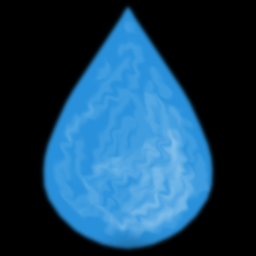
“Water Droplet VFX”

“Electric VFX”
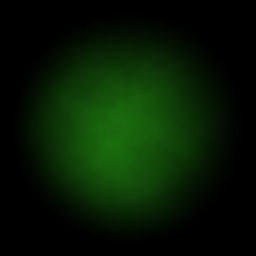
“Green Smoke VFX”
The Character

“Character UVs”

“Character Texture”